Wednesday, April 30, 2014

Priming on the Roof - 4/21/14

Taking advantage of a day without any precipitation....
Dad got the roof outside and got it primed..

And from this side..

And the back...

And from the this side...

Then later in the day....
The first coat got put on the center of the roof!


More to come!

Tuesday, April 29, 2014

Just Scraping By.... 4/20/14

Dad went to town on the roof we hauled in the day before...
Here it is in the process of being scraped....

And the other end 'before'

And During....

There is a pile of paint....

And After....

Thanks Dad!
 More to come!

Monday, April 28, 2014

Bringing out the Roof - and some serious disappointment... 4/19/14

Well Dad has made huge progress with the Chassis and structure of the motorcar that we brought inside last December. 
Here is the roof - brought down to the basement for the first time.

Reference shot for the front..

And here is the Rear with the Painted windscreen and the roof supports 

Slightly different angle...

I forgot to mention this piece - this is a custom machined piece made by Dad's friend Jim, the 'Wizard of Welding' I've mentioned previously. Here it is installed as a crank guard after painting

Looks much more complete now that things are painted

In order to continue progress - we brought the roof in and set it down on the supports

Unfortunately with the straightened windshield and the non straightened roof, the mounts didn't quite match up.

Case in point.... 

On the other hand - it looks much more complete with the roof on. It also makes the roof look just that much worse when contrasted with the nicely painted windscreen

Here is Dad tightening up the roof support U bolts now that we have them in the right place

Although not finished - here is the beginnings of the electrical side of things on the operator's side. I will take some more detailed pictures of this.

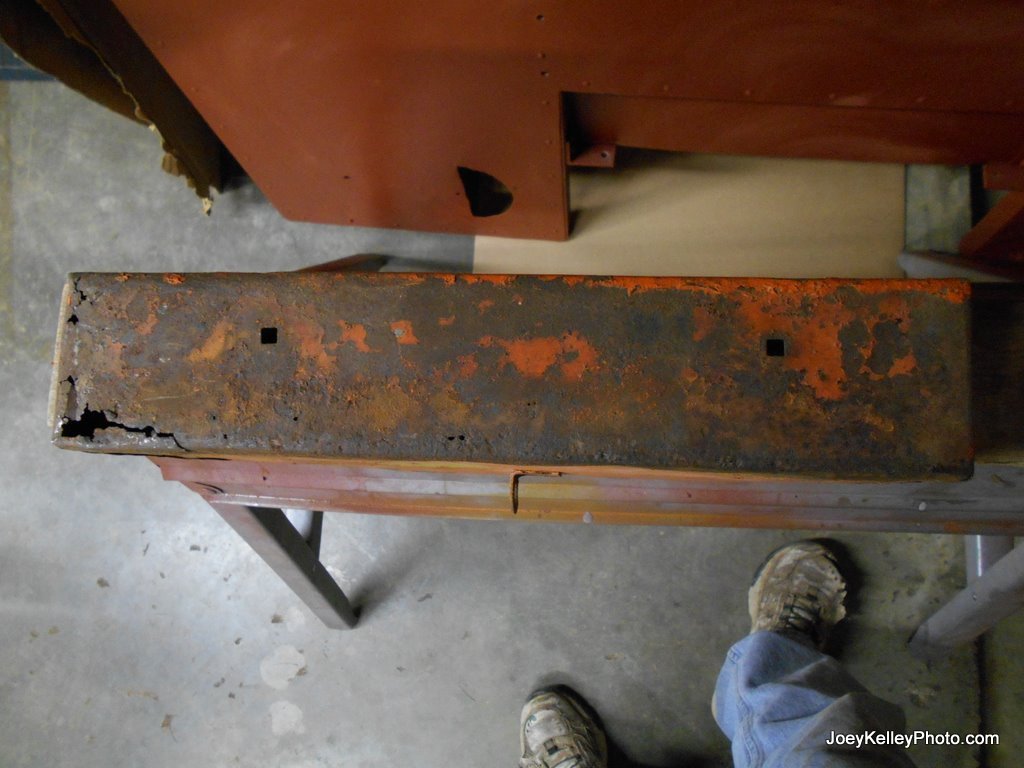
Here is the major disappointment of the day. We went to put the brake rigging back on so we could line up the brake light switch and get that installed. Unfortunately out of the four brake assemblies we can only locate three. The picture above is of the one that I am missing. (I have one but need two) This resulted in both Dad and I double checking every spot we could think of - likely or not - knowing that it was on the car when I bought it. Somewhere in the 10 years since - its been misplaced. 

More to come!

Sunday, April 27, 2014

Seeing the Sun for the first time in over Four Months! - 4-18-14

There are limits to how much you can paint inside so.....

Underneath the paper and tape - there she is...

Here is the goal - paint the inside of the windscreen - personally I think that the tape looks good by itself... Might have Dad leave it.....

There she is - outside and painted - looking darn good!

Back inside and unmasked - guess Dad didn't think leaving the tape on was a good idea :-)

Original windscreen serial number and the freshly painted push bar installed

And there we are with the front - looking like a motorcar again!

Another coat on the rear roof support arms!

Oh and you remember that toolbox? Here she is installed!

More to come!

Saturday, April 26, 2014

More progress - 4-16-14

The Box is Back!

Not sure if you remember the beat up tool box on the front? Here it is in Primer...

And here it is painted!

And the second coat on the rear supports!

More to come!

Friday, April 25, 2014

Now protected from Wind! - 4-15-14

Its beginning to look a lot like a Motorcar!

Here it is folks - the refurbished windscreen - all back in place, painted, ready to go. 

One comment was made that it was 'Better than when the BAR got it' - in terms of paint - I don't doubt it!

More progress being made - this is the back roof support getting sprayed.

More to come!

Thursday, April 24, 2014

Got myself a bit out of order - Motorcar progress on 4/12/14

I apologize for missing the 12th until after I'd posted the pictures from the 13th - however, here are the pictures from the 12th. 
Some might have noticed that there are two windshield supports that hold up the windshield. Thusfar, we've shown only one. This is why:
After sandblasting...

It was quite obvious that this piece needed serious help...

So off I went to Dad's friend Jim, whom I will now refer to as the Wizard of Welding

There it is - a bit of aluminum being touched up by a steady hand.

Speaking of Hands - here is Dad's hand shoved into the blasting cabinet...

Those with very good eye sight might notice the interior windscreen handle being sandblasted as a precursor to being painted. 

More to come!

Wednesday, April 23, 2014

Cranks and controls - 4-13-14

Remember the relatively ratty looking control panel?
There it is - painted and back in place. Not to mention all the control levers

And there is the crank - on the original crank mounts, just primed, painted and working 

Remember the Windshield supports? Here we go - more paint!

More to come!

Tuesday, April 22, 2014

More Painting - 4/9/14

A journey of a thousand miles begins with a single step - the paint job on motorcar parts begins with the first coat. 

Dad got the first coat of Orange on the windscreen....

And the windscreen supports!

More to come!


Saturday, April 12, 2014

The day Dad tried out his new Toy... 4/8/14

Dad's been busy again:
Crank side lift handle boxes are done - crank fits as you can see

This is the front mounted toolbox after straightening. Dad's new toy is a metal straightening tool - seems to have worked out well!

The other side...

This is the bottom. Dad's plan is to use a combination of epoxy, some new thin steel and JB weld to seal up the cracks

The top - pretty much straight back to the way it was when Fairmont shipped it out!

And the top - a little heat was required to loosen up the hasp and the two hinges were locked solid and will be replaced.

More to come!