Saturday, May 10, 2014

Sweeping Hitches... 5/8/14

Today Dad got busy with the Sweeps...
After being sandblasted, primed and painted

Here they are installed.

In addition, these new flaps were fabricated from some material Dad had. 

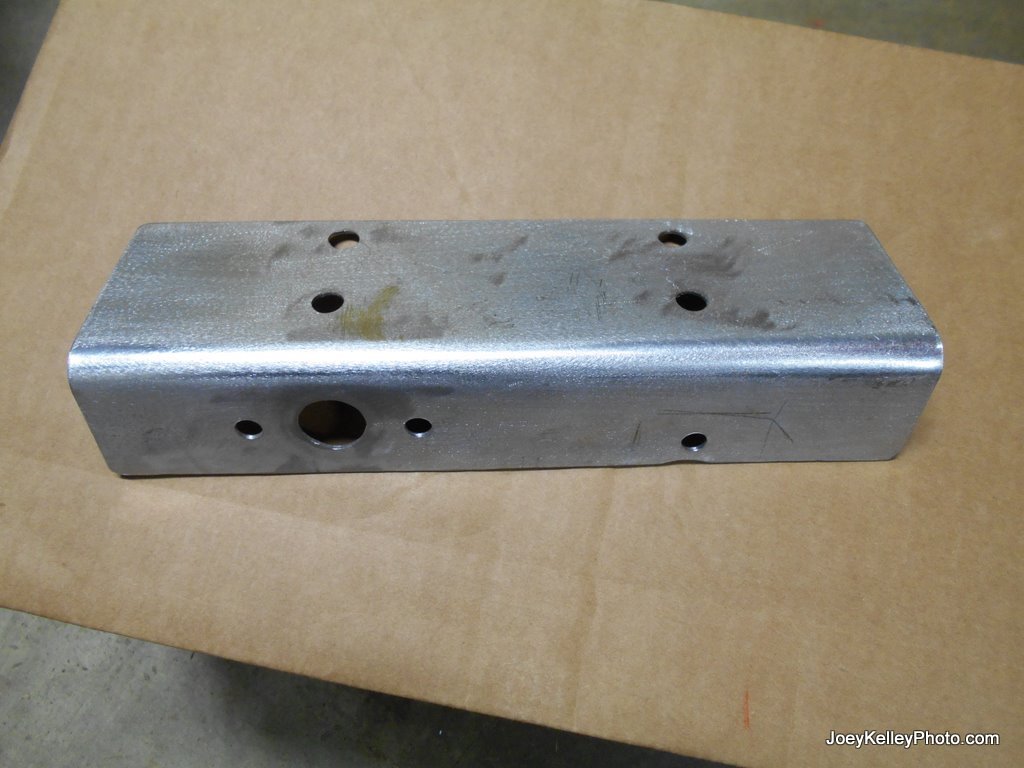
These are the cardboard patterns and the steel pieces cut from them for the front and rear hitches for towing and being towed. 

More to come!

Friday, May 9, 2014

The Sweeps Day - 5-5-14

With the major projects winding down - the 62 is looking better and better but the little projects are starting to take center stage. 
This morning Dad put on a new fuel line. This afternoon's project was the Sweepers:
Here they are torn apart

And here they are welded up and prepared for sandblasting, priming and paint. 
What isn't obvious is the amount of straightening Dad had to do to get them to look this good. 

With the big (and small) projects winding down, we're going get this car wired up, fired up and on the rail soon!
 More to come!

Thursday, May 8, 2014

Carb Cleanup - 5-4-14

We've done an awful lot of cosmetic restoration - but haven't really touched on the mechanics.. 
This day, Dad made a good call and decided to clean up the Carburetor, along with the air cleaner mount.  


In his own words: 
"I disassembled the entire carb and found it to be really pretty clean.
One of the compensating valves was stuck on its shaft, the other one
was free. After degreasing and blowing everything out,  the needle
valve was cleaned, everything was lubed up and reassembled. I was able
to reuse the original gaskets but I replaced the thin aluminum washers
with new copper ones.
Next was to de-grease the aluminum air cleaner holder and elbow. This is
a 2 part piece. The air cleaner is sandwiched between and it is made
of metal screening. I took the dimensions and K & N makes one that
will fit. I did a slight modification to the metal  top and bottom
covers to allow the new air filter to fit,  cleaned them up and
treated them for rust. I will prime and paint these two pieces. I will
pick up a new air cleaner and a new piece of rubber hose to make the
connection between the carb and the air cleaner. I cleaned up the
original hose clamps and will re-use these."

As a side note - if you look behind the air cleaner mount - just inside the firewall, you'll see the cleaned up timer installed and wired in. 

As usual - a HUGE thank you goes out to Dad for this one!
More to come!

Wednesday, May 7, 2014

The Brackets that you Might not see.... 5-3-14

Remember those brackets Dad whipped up? 
Look hard - you might not see it!

Little easier to see here...

And here they are mounted!

Nice work Dad!

Tuesday, May 6, 2014

Enlightened Brackets - 5-1-14

Today in Dad's custom fabrication shop - we see him working some miracles. With a piece of recycled metal reclaimed from an old display, Dad celebrated the first day of his official retirement.... by working. 
Inside rear view of the back light bracket

Rear bottom view....

And here the bracket is installed. Using the original roof support U bolts - you'll see the bracket fits perfectly. Nice work Dad!

This is the front brake / tail light bulb bracket as custom bent and drilled by Dad.

And here they are installed....

And a lights on Test....

And the lights off test.

After a brief discussion as to lighting location.....
They are now splitting the center line. 


Great Work Dad! 
Happy Retirement!

Monday, May 5, 2014

The Bracket is done! 4/28/14

Dad's painting magic strikes again - the bracket is done:
Painted to match - this will be where the flasher sits.

Nice work Dad!

More to come!

Sunday, May 4, 2014

Flasher bracket - 4/27/14

In any project with multiple people working on it - there will be disagreements on how the project should be executed. One of these disagreements between Dad and I was simply how to mount some of the new lighting onto the car. This car did not have any lighting - certainly not strobe lights. Dad has been maintaining that the way to affix the magnetic mounted strobe lights was to rivet a piece of steel onto the roof. I have been maintaining that this is unnecessary and would involve not only punching holes into the roof, but altering the originality of the car. Up until now, everything that has been done to alter the original appearance or function of the car could be removed - as it was all bolted in or paint. I saw no reason to alter this approach. Fortunately Dad decided I had a point and worked up this bracket for the strobe light on the front of the roof:

Looks like a bent key hole shape....

But once we extend the bolts being used for the rear view mirror bracket...

This will allow the strobe to be mounted right on the front and once painted - will hardly be visible. 

More to come!