Saturday, May 3, 2014

Of the Roof and getting electrified - 4/26/14

A lot of progress was made in an all-day work session on the 62!
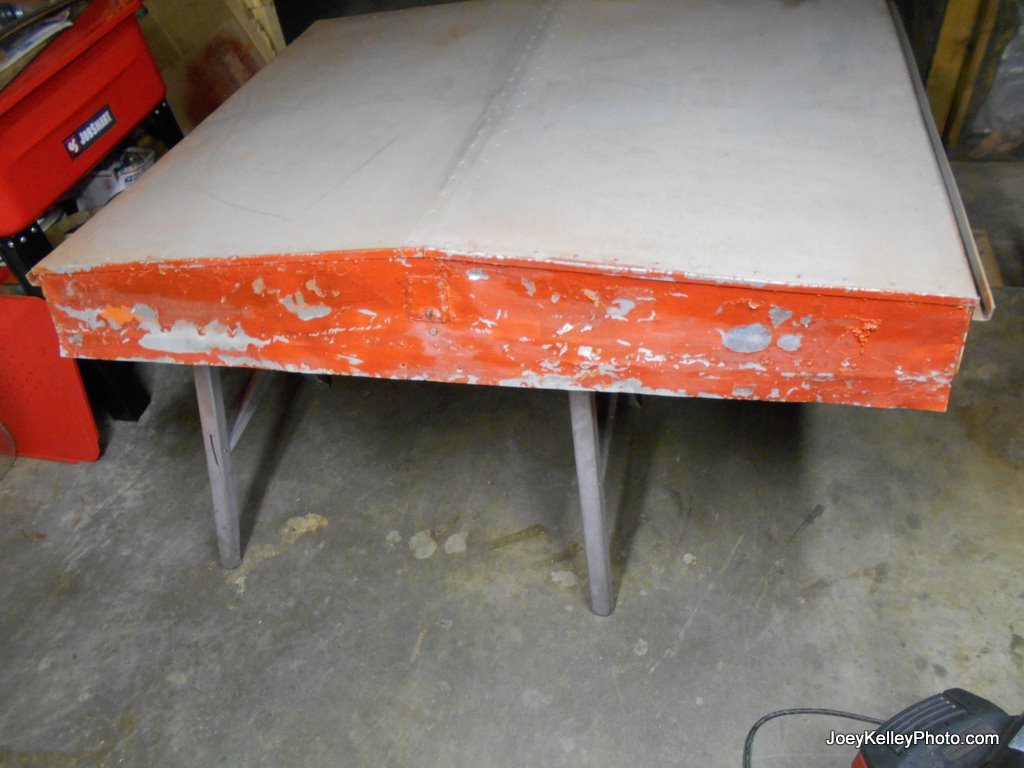
Here is the painted roof - note Dad's attention to detail - the inside of the drip rails is the same color as the roof - but the sides are orange. 

Here is the rest of the car - as you can see, great progress has been made since December.

We never showed a picture of this before - but this is the tow bar that came with Dad's car - as you can see Dad's Epoxy Primer magic has struck again - it looks amazing. 

And here it is - the first time the roof has been bolted down since it was removed in 2005!

This is Dad enlarging a hole in the control panel

And this is why - the external bearing requires an oil cup - and here it is installed and plumbed up

And there she is - all in one piece.
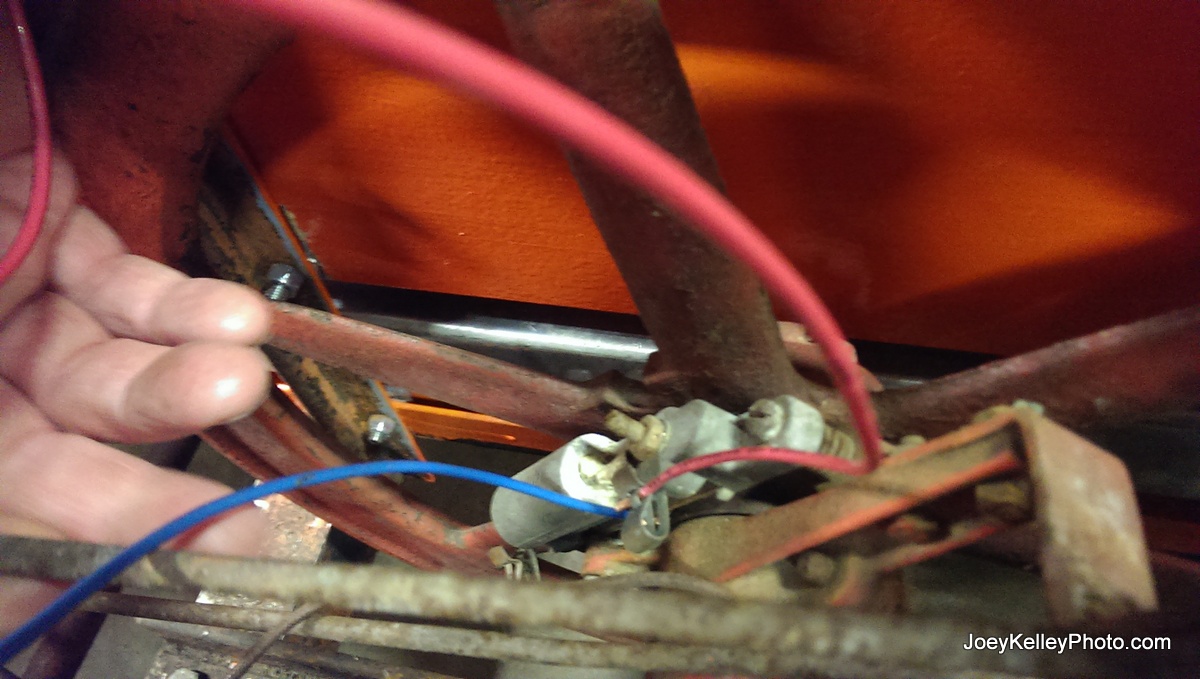
Here is the timer - wired up - but upon being tested, it didn't work. 

Here is the timer, removed for cleaning

And the top of it...

And the detail of the front bolt and spring. These pictures were taken mainly for reference for reassembly. 

While Dad was cleaning up the timer - I set the newly purchased Grote 7791 flasher on the top of the roof for a quick test. This flasher runs on two D cell batteries and is not tied in with the electrical system

And a quick test of the flasher - see the video below:

My major contribution for the day was to continue the electrical work
Here is a tight shot of the 'control panel' on the battery box. The red switch is the master cutoff, the black switch is the light switch

And here is the back side - sorry about the flash - the main switch is wired into the light switch

A bit better shot - everything is pretty tight in the battery box - with the battery, the coil and the switches

Although it isn't bolted in place - here is where the battery box will be and the control panel is easily accessed from the operator's position.

Although its difficult to photograph - I got the timer wired in, the ignition switch and master kill switch both tested and the buzz coil verified to throw a spark. while getting there - I became very glad that I put a fuse in the circuit between the master disconnect and the battery. Little tip - always put in a fuse!

More progress to come!

Friday, May 2, 2014

Rooftops and Batteries - 4/24/14

Mom got pulled into the project today....
She helped Dad turn the roof over - which allowed him to paint the top! 

On the electrical front, the new Gel Cell battery arrived and it fits into the battery box without issue - leaving enough room for the other stuff we need to fit.

More to come!

Thursday, May 1, 2014

More roof painting - 4/23/14

Dad got the orange parts of the roof painted...
Doing a darn good job!

Smooth sailing!

More to come!

Wednesday, April 30, 2014

Priming on the Roof - 4/21/14

Taking advantage of a day without any precipitation....
Dad got the roof outside and got it primed..

And from this side..

And the back...

And from the this side...

Then later in the day....
The first coat got put on the center of the roof!


More to come!

Tuesday, April 29, 2014

Just Scraping By.... 4/20/14

Dad went to town on the roof we hauled in the day before...
Here it is in the process of being scraped....

And the other end 'before'

And During....

There is a pile of paint....

And After....

Thanks Dad!
 More to come!

Monday, April 28, 2014

Bringing out the Roof - and some serious disappointment... 4/19/14

Well Dad has made huge progress with the Chassis and structure of the motorcar that we brought inside last December. 
Here is the roof - brought down to the basement for the first time.

Reference shot for the front..

And here is the Rear with the Painted windscreen and the roof supports 

Slightly different angle...

I forgot to mention this piece - this is a custom machined piece made by Dad's friend Jim, the 'Wizard of Welding' I've mentioned previously. Here it is installed as a crank guard after painting

Looks much more complete now that things are painted

In order to continue progress - we brought the roof in and set it down on the supports

Unfortunately with the straightened windshield and the non straightened roof, the mounts didn't quite match up.

Case in point.... 

On the other hand - it looks much more complete with the roof on. It also makes the roof look just that much worse when contrasted with the nicely painted windscreen

Here is Dad tightening up the roof support U bolts now that we have them in the right place

Although not finished - here is the beginnings of the electrical side of things on the operator's side. I will take some more detailed pictures of this.

Here is the major disappointment of the day. We went to put the brake rigging back on so we could line up the brake light switch and get that installed. Unfortunately out of the four brake assemblies we can only locate three. The picture above is of the one that I am missing. (I have one but need two) This resulted in both Dad and I double checking every spot we could think of - likely or not - knowing that it was on the car when I bought it. Somewhere in the 10 years since - its been misplaced. 

More to come!

Sunday, April 27, 2014

Seeing the Sun for the first time in over Four Months! - 4-18-14

There are limits to how much you can paint inside so.....

Underneath the paper and tape - there she is...

Here is the goal - paint the inside of the windscreen - personally I think that the tape looks good by itself... Might have Dad leave it.....

There she is - outside and painted - looking darn good!

Back inside and unmasked - guess Dad didn't think leaving the tape on was a good idea :-)

Original windscreen serial number and the freshly painted push bar installed

And there we are with the front - looking like a motorcar again!

Another coat on the rear roof support arms!

Oh and you remember that toolbox? Here she is installed!

More to come!